Miriam walks in today to show me her progress on Autumn Bouquet and mentions she doesn’t know where she’s going to find blue and yellow felted balls for the berries suggested in the stitch guide . So I said hey lets just make them! With just wee tuft of fluffy roving, lots of soap, a little water and some muscle anyone can make felted balls. (Not knowing how I could ever use them I’ve made lots of felted balls after brushing my long hair cats. Who knew it was the technique that would come in handy!) So once we rinse and squeezed dried the berries I stitched on the top a tiny cross stitch with a single strand of splendor; leaving two tails of thread on the bottom of the berry. With a needle I sank the threads to the back and tied on the berry- ball. Some we took sharp embroidery scissors and snipped a flat spot on the bottom to help the berry sit in place. On a few when I couldn’t get a snug tie off with the splendor (it would break) I took a needle and beading thread; came up to the front from the back, caught a bit of the berry and then went back through to the back. By really pulling on the thread I was able to tie it quite tight to the canvas.
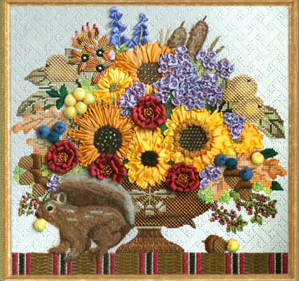 |
| Autumn Bouquet Melissa Shirley |
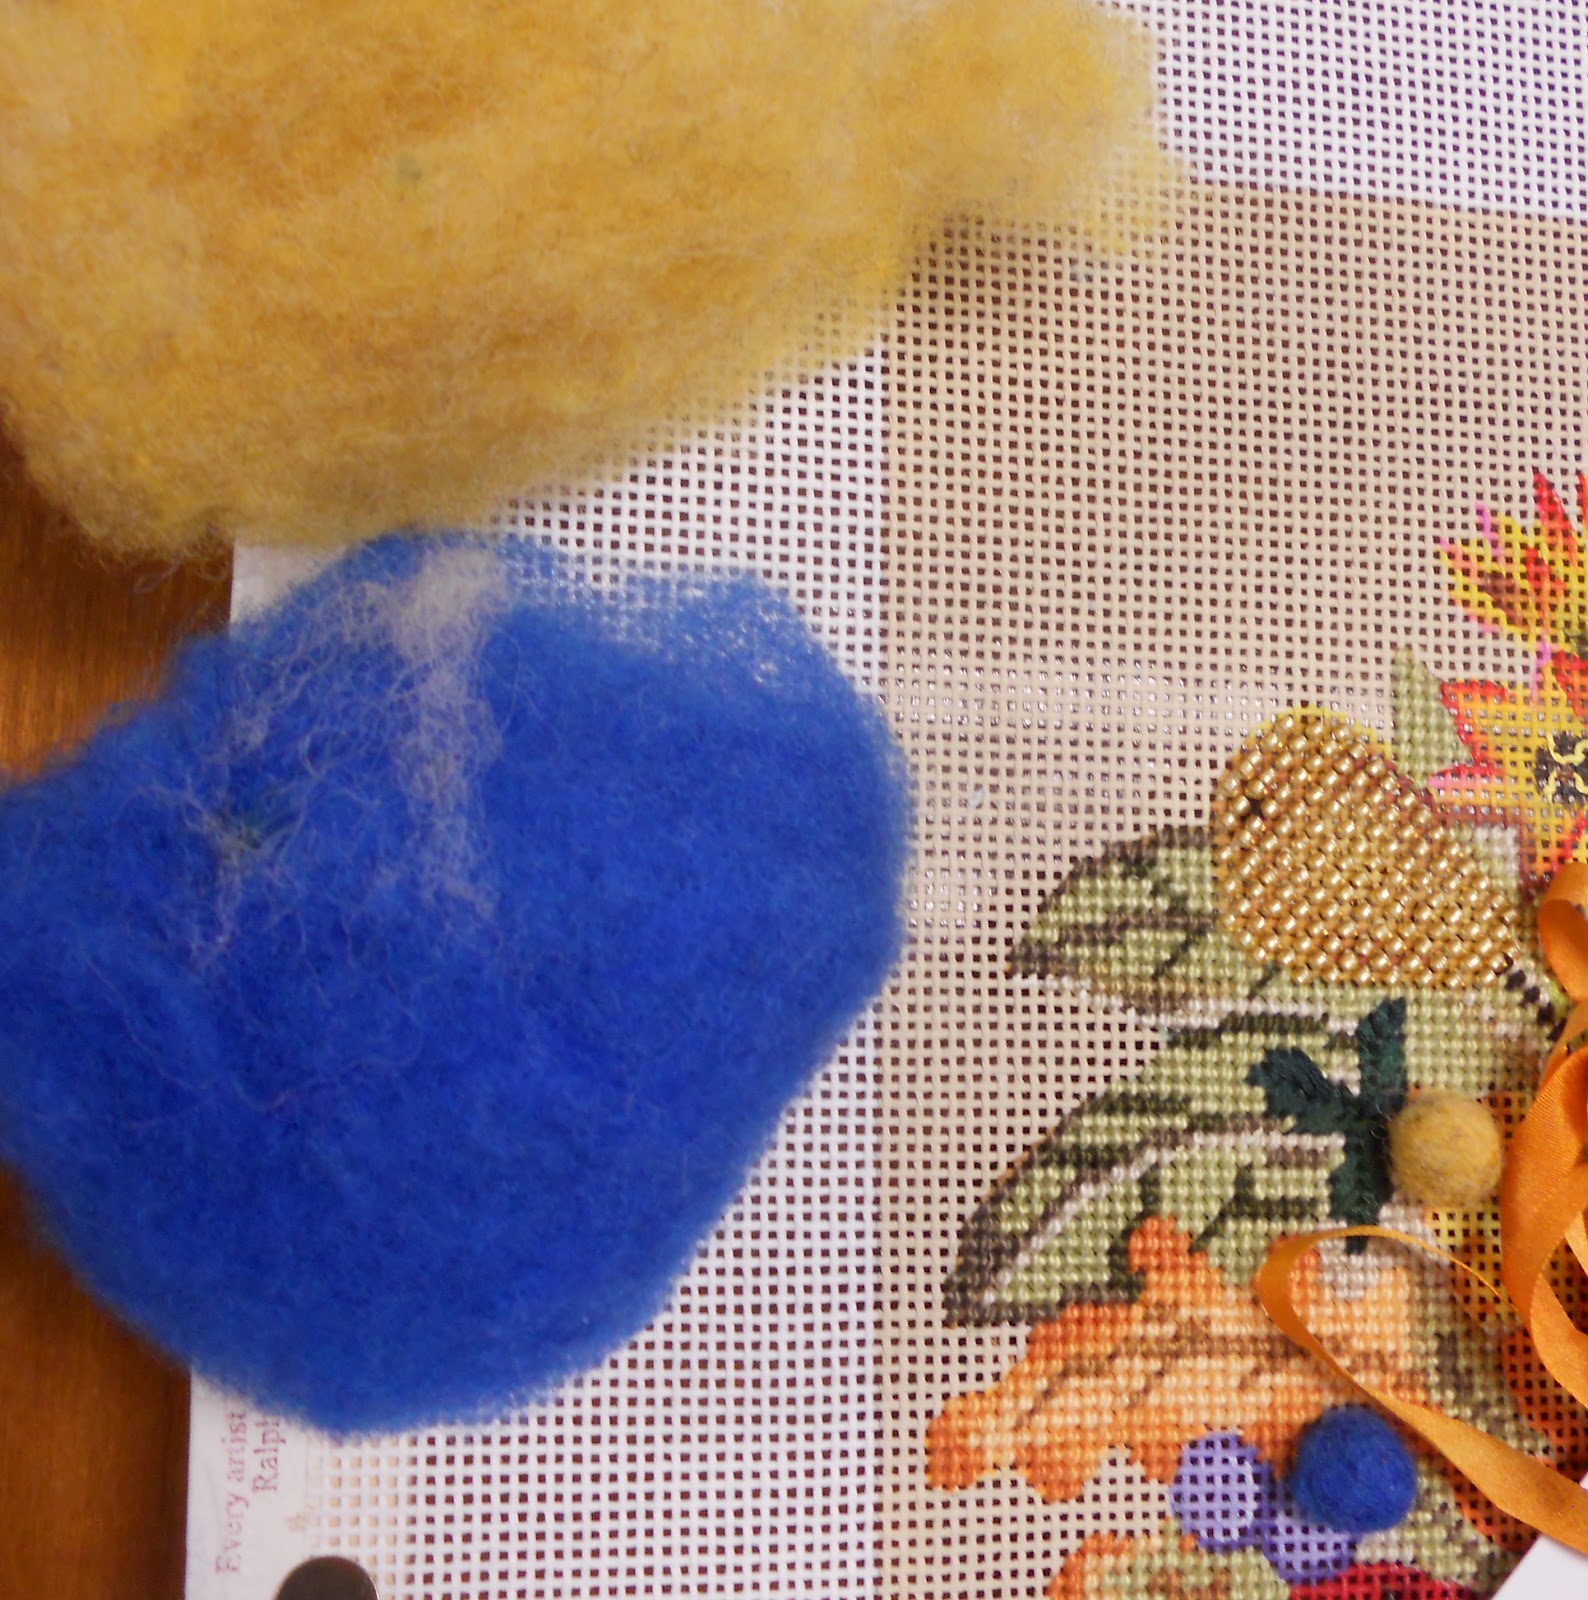 |
| wool roving |
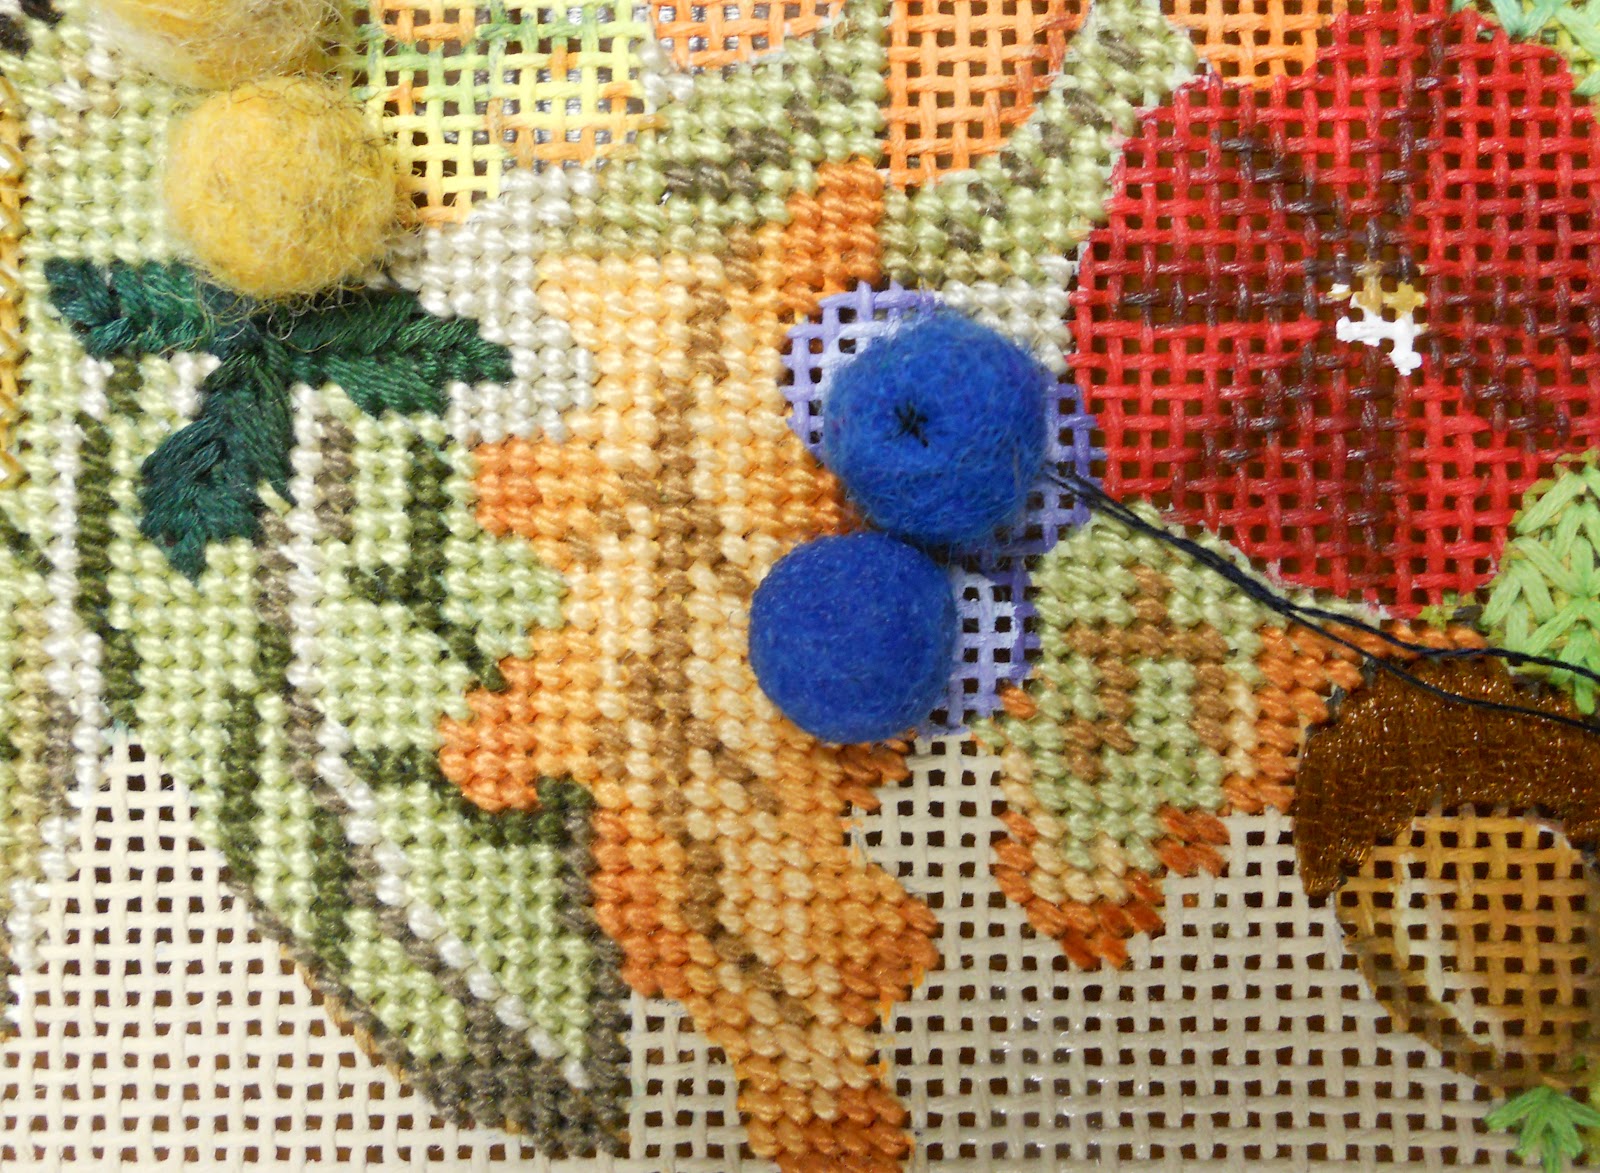 |
| Our own felted berry balls |
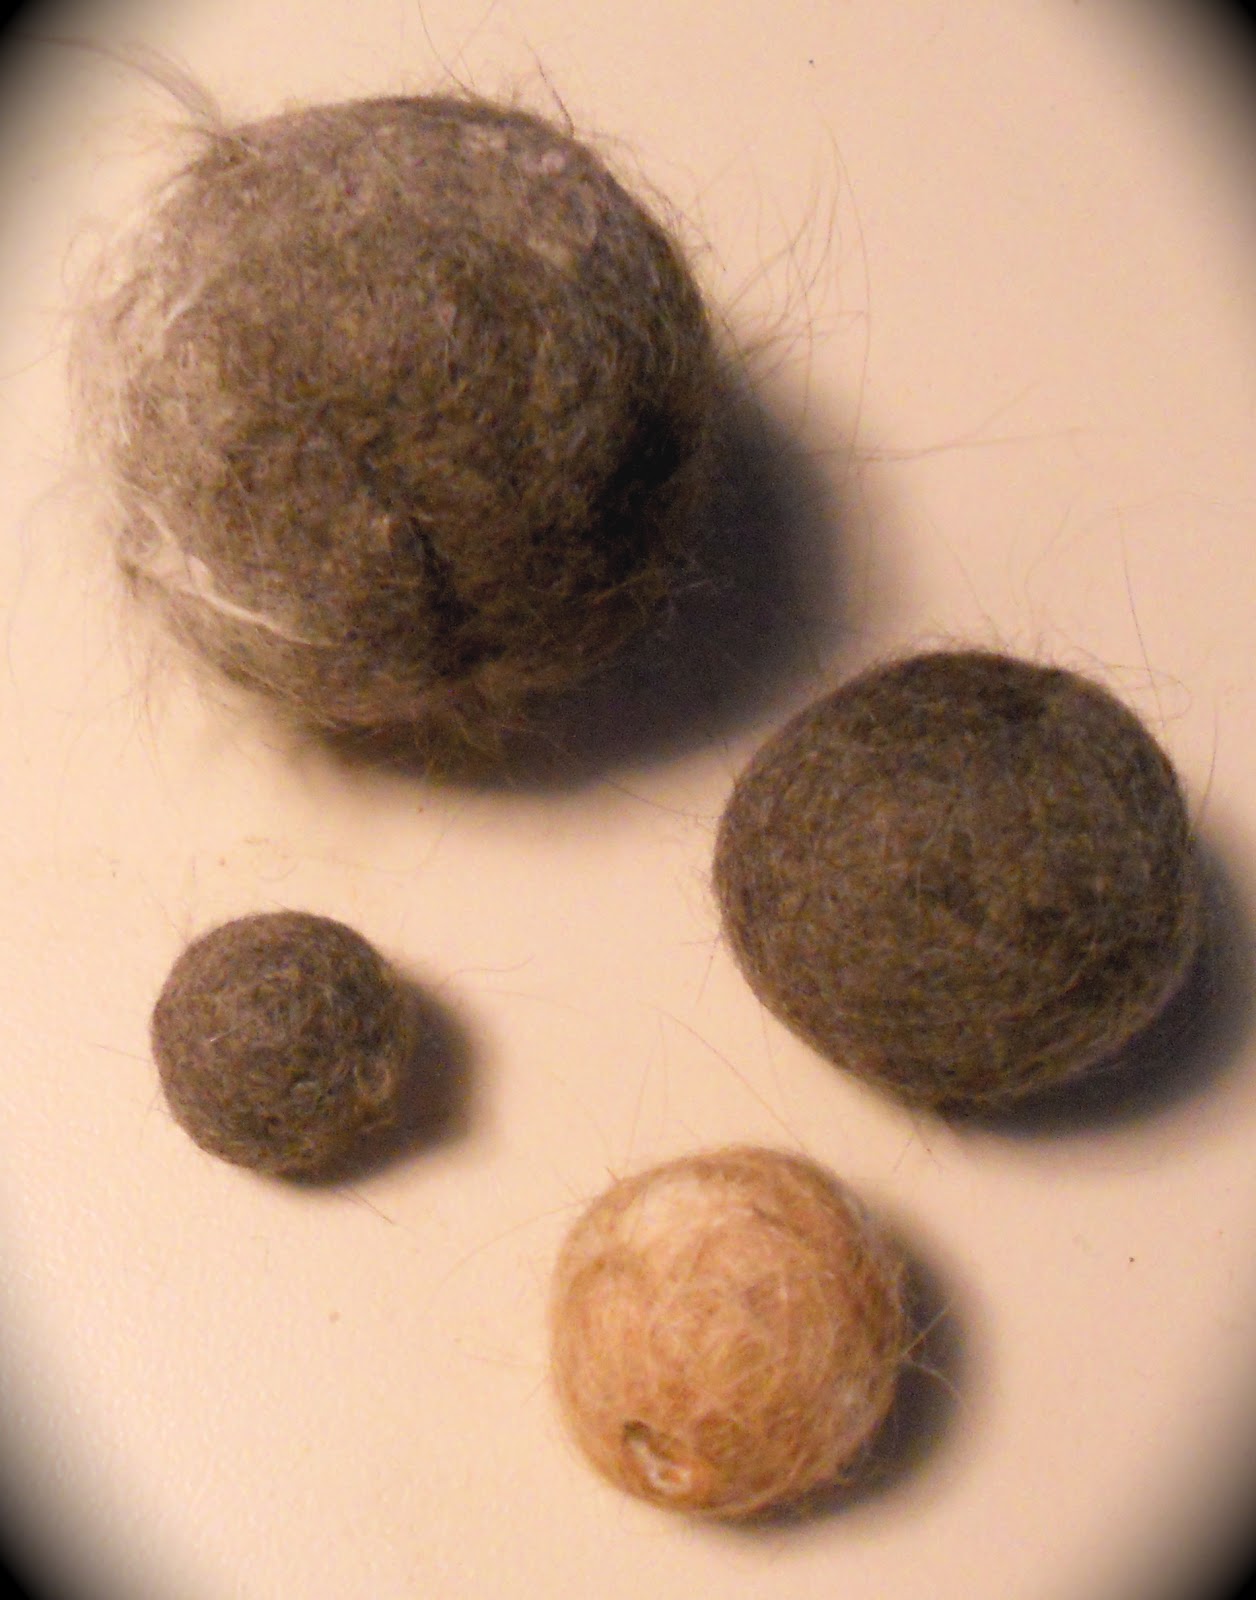 |
| DIY felted balls from pet fur |
The stitch guide for Autumn Bouquet by Melissa Shirley was written by Wendy Harwood from Aristeia. Sadly just yesterday Wendy passed away after a long battle with cancer. I never met Wendy but know she was a gifted stitcher to say the least. Several of her guides area available for sale through Melissa Shirley. Her family has much to be proud of for Wendy’s unique gift of stitching that she shared with so many.
I have another Melissa canvas, is there something you put between the canvas and the brown wool roving? I have the stitch guide and all the threads felting needle and foam. On internet I can only find where felting uses felt & roving and then sewen on sweaters etc. Sandy
Hi Sandy, I can see where my post above could be mis-leading. Aside from making balls or shapes from roving and applying to a canvas what I think you may be trying to figure out is how to dry needle felt onto canvas, similar to the squirrels in Autumn bouquet above. For this you would place the foam behind the canvas so the canvas is lying flat against it, hopefully you can keep it on the stretcher bars. You then want to pull tiny amounts of the roving, like eating cotton candy in Barbie doll portions. With just your dry fingers scrunch the tiny amount of roving and gently push the felting needle through the roving, through the canvas into the foam. Try pushing the needle straight up and down and keep your finger tips clear of the needle! I say take tiny amounts of the roving because I think it looks best to layer the roving like painting with watercolors. If you clump too much on at once I think the look is less natural looking. the more you push the needle up and down the more matted the roving will be against the canvas. Then you can more lightly felt on top of your “base”. If you look at the underside of your canvas you will barely see any of the roving coming through, it just kind of gets tangled into the canvas threads. And yes you can pull it up and off the canvas like picking up a piece of cake crumb. Is this addressing your questions at all? Once you felt on top of a section of the foam block in will start to get depressed, eventually you’ll want to move your canvas on top of a more firm part of the block.